Chrome Repair and Restoration: Step By Step
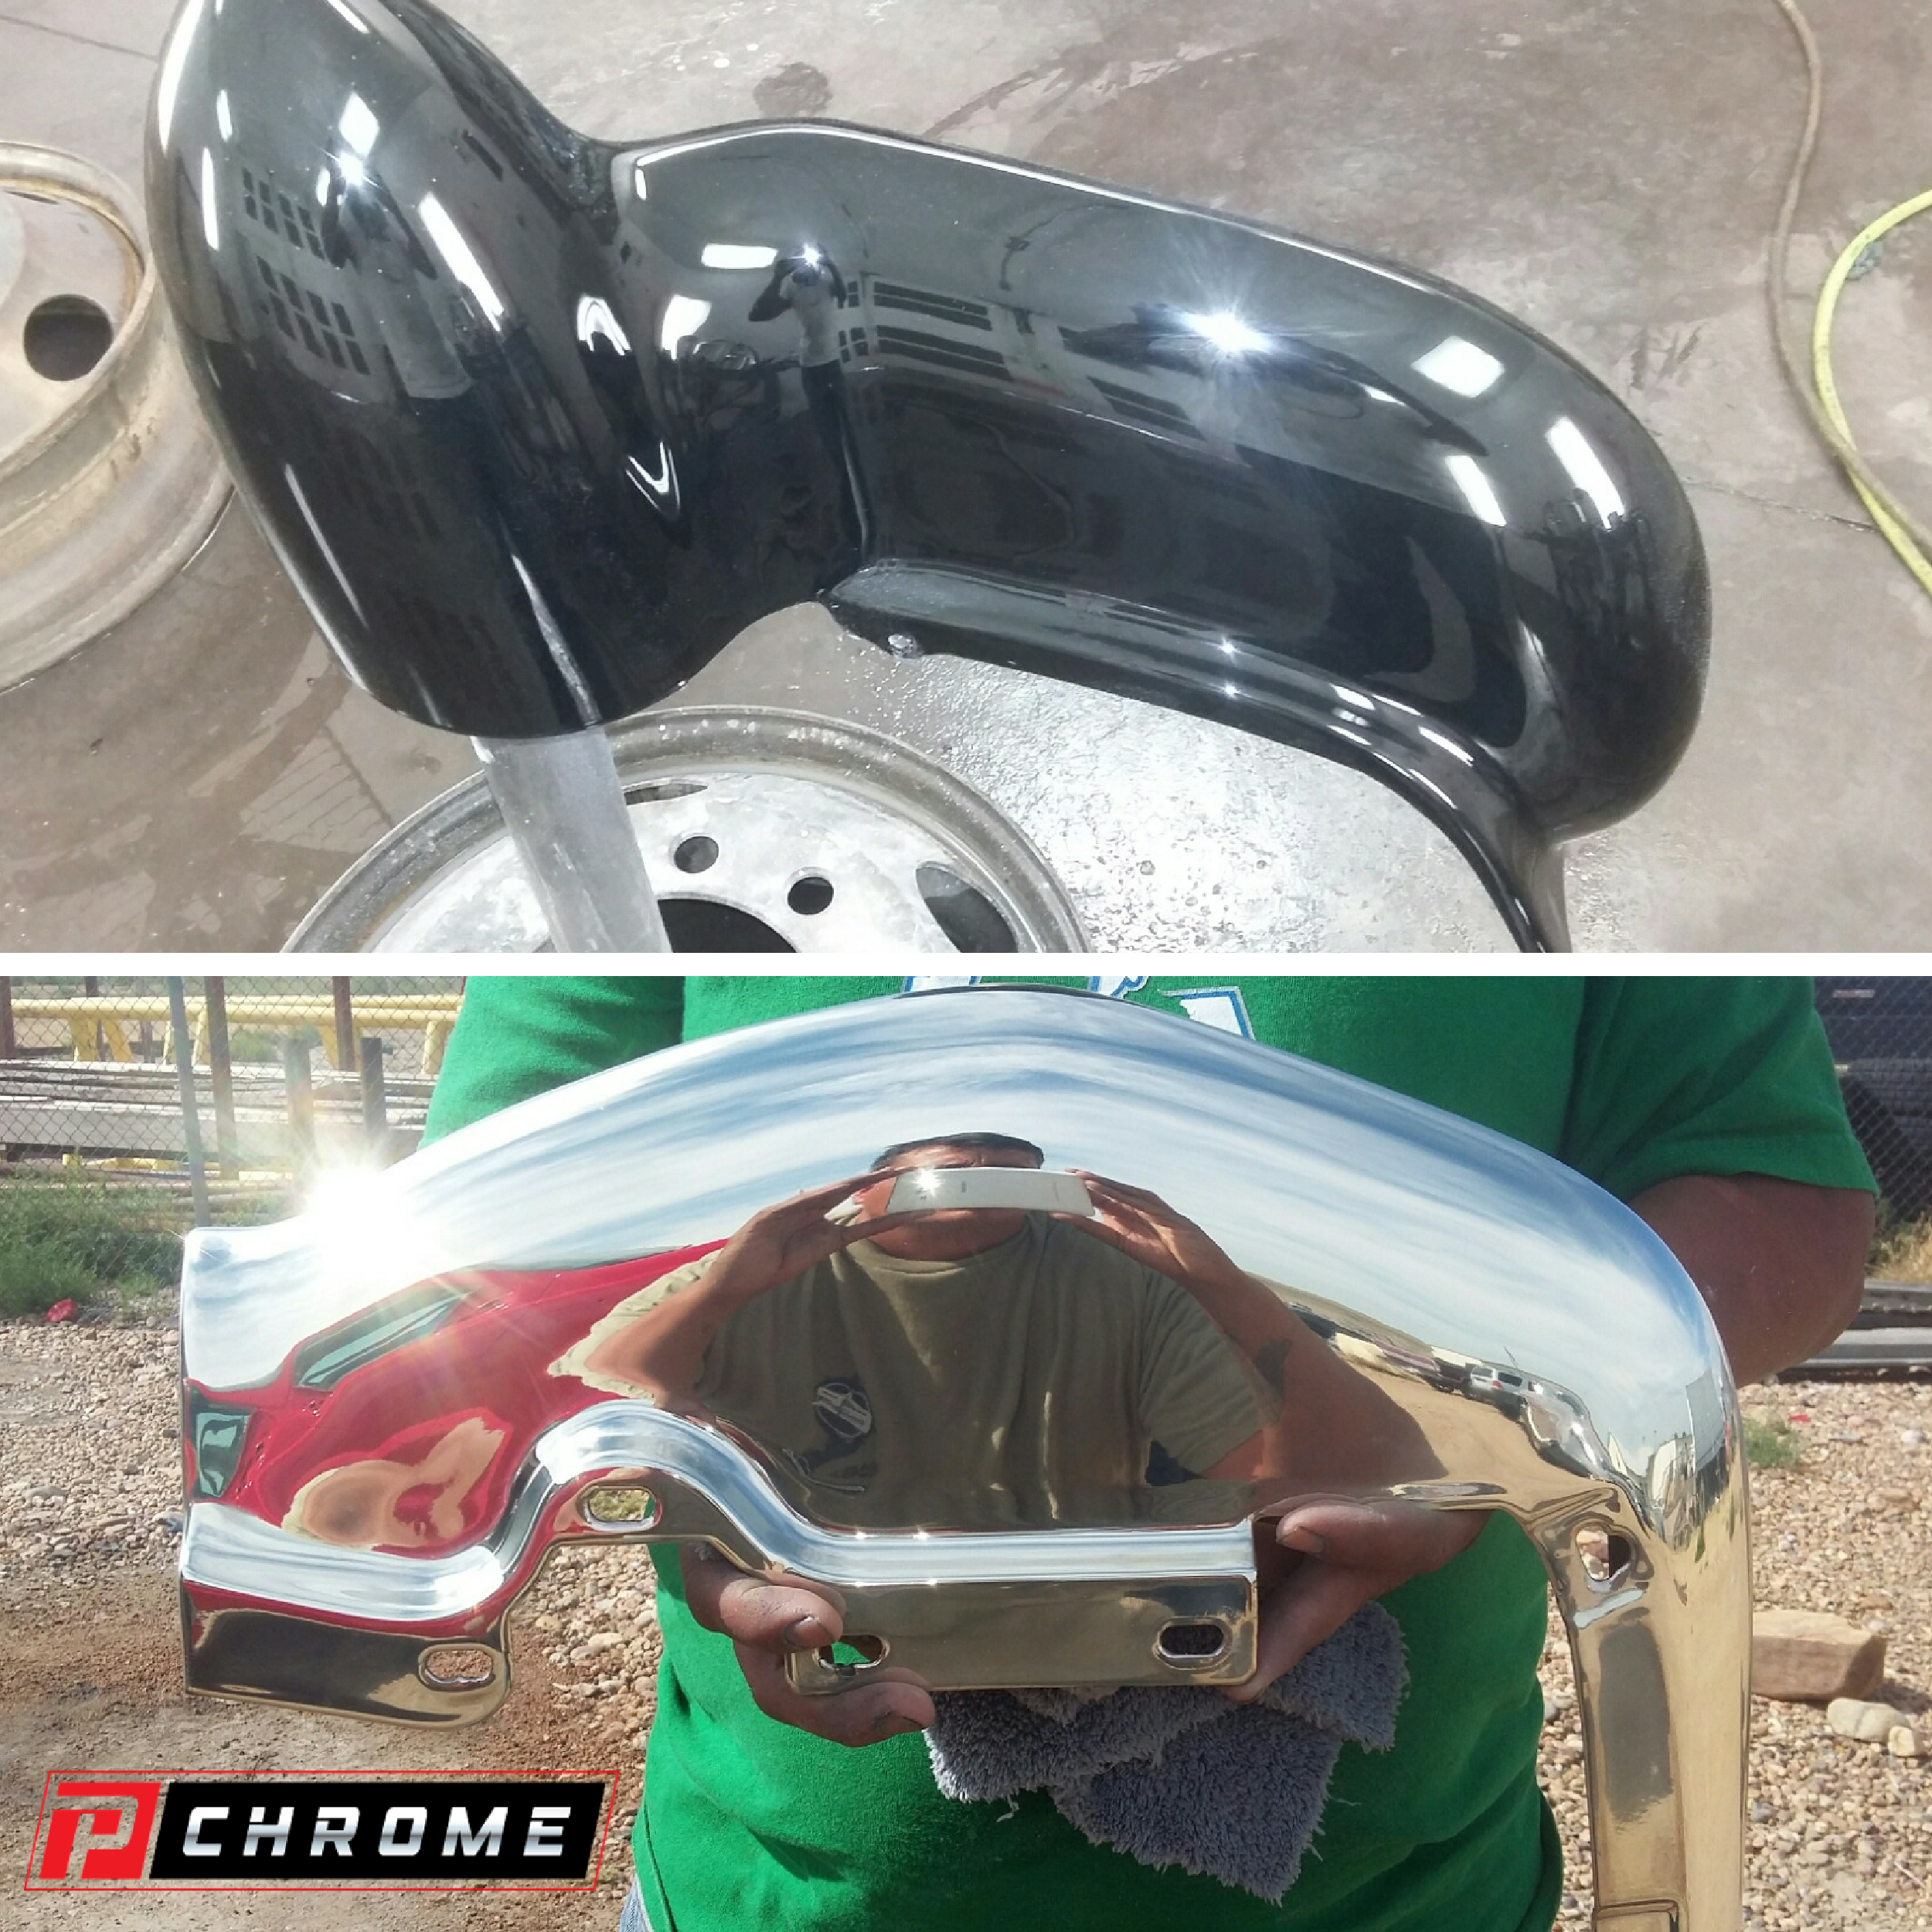
If your chrome has become damaged or dinged, you likely want to restore it to its former luster. Fortunately, PChrome allows you to repair chrome without having to send off your part for traditional chrome plating. By following these simple steps and using a chrome repair kit from PChrome, your chrome repair job will bring back the shiny, mirrored finish to even rusted or banged-up chrome pieces.
First step: Sandblasting, orbital sanding or manual sanding
Your first step in the PChrome chrome repair process is to prepare your surface. You’ll want to do this by sandblasting the part, using an orbital sander or manually sanding the piece with 180- to 320-grit sandpaper. Sand down the damaged or rusted part to create a smooth surface. Follow it up with a primer, and you’re ready to apply the PChrome base coat.
Second step: Fill the problem area
After you have sanded the surface smooth, use a metal filler to fill in damaged spots and turn the surface into a smooth and flush substrate. After filling, you might need to re-sand using a 320-grit sandpaper.
Third step: Mix your solutions
Before you can apply your PChrome base coat, you first need to mix it. Your kit comes with four solutions that are marked S, R, D and W. You’ll also see bottles that are labeled as 2KA and 2KB (your basecoat/topcoat).
To mix your solutions, mix the S, R and D solutions separately with deionized water at a ratio of one part of the solution to every 30 milliliters of water. The W solution is mixed at a ratio of 4 parts of the solution to every 30 milliliters of water. After you have mixed these four solutions, set the bottles of the mixtures aside.
Next, mix your base coat. For this, you will mix one part of your 2KA base coat together with 1 part of your 2KB.
Fourth step: Apply your basecoat
Spray your basecoat on the part moving from the bottom to the top of the piece, using fast, horizontal motions. After you have applied the base coat, make certain that you clean your spray gun with acetone or paint thinner. The basecoat then needs to cure for 24 hours at room temperature.
Fifth step: Apply your chrome
Now comes the fun part. Take your sensitizing solution that you mixed up. This is the W solution. Spray it all over the surface of your part. Then, apply your D solution all over the part and rinse it with deionized water. Repeat the application of the W and D solutions followed by rinsing with deionized water. Without letting the surface dry, immediately spray your chrome on the part using your dual-nozzle spray gun. Move with quick, side-to-side motions working your way from the bottom to the top. Continue your applications until you have the degree of shine that you want. Dry the part by blowing off any water droplets.
Sixth step: Apply the topcoat
For your topcoat, mix together your 2KA topcoat together with your 2KB hardener in a one-to-one ratio. Then, spray it all over the surface using horizontal movements and working your way from the bottom to the top. The topcoat should fully cure and harden within 48 hours. If you wish, you can apply a second topcoat after that.